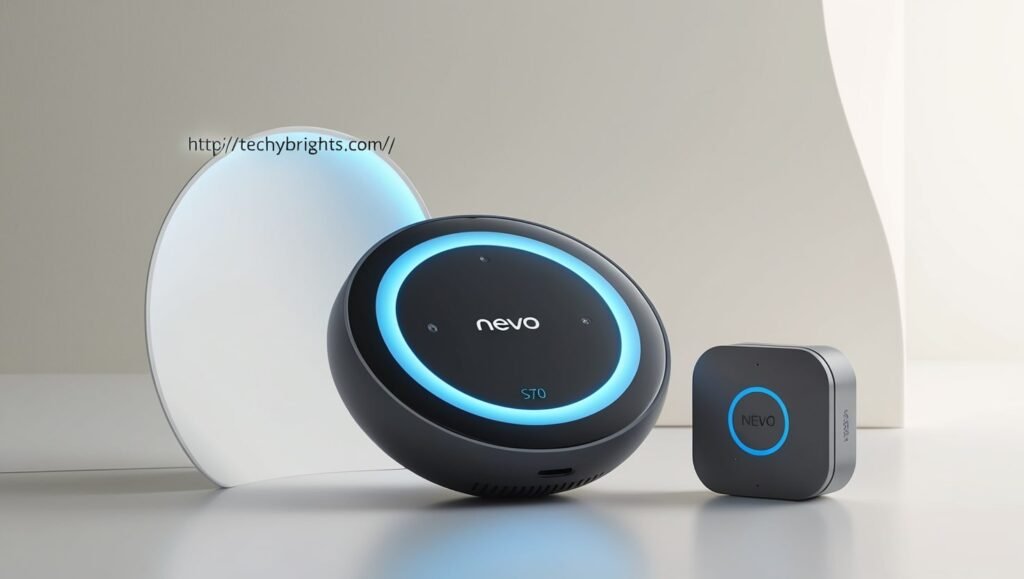
The rise of smart homes has revolutionized the way we interact with technology, allowing for more convenience, security, and energy efficiency. One of the key players in this field is Z-Wave, a wireless communication protocol that allows smart devices to communicate with each other seamlessly. Nevo S70, an advanced control system, is designed to provide a central hub for managing various devices within your home. In this article, we will explore how to Add Z Wave Device to Nevo S70, offering a step-by-step guide to ensure smooth integration.
What is Z-Wave Technology?
It allows smart devices such as lights, locks, thermostats, and security systems to connect and communicate with one another. Z-Wave is known for its reliability, low power consumption, and secure communication. With Z-Wave, homeowners can control their devices remotely through a smartphone, tablet, or central control system like the Nevo S70.
When you Add Z Wave Device to Nevo S70, you open up a world of possibilities for home automation. Z-Wave devices can work together to automate your home, making it more efficient and user-friendly. For example, you can program your lights to turn on when you enter a room, adjust your thermostat based on your schedule, or monitor the security of your home from anywhere.
Why Add Z Wave Device to Nevo S70?
Integrating Z-Wave devices with Nevo S70 enhances the capabilities of your home automation system. Nevo S70 is a powerful touch-screen interface that enables you to control all of your smart home devices from a single location. By adding Z-Wave device to Nevo S70, you can create a centralized control system that makes managing your home’s smart devices easier and more efficient.
Nevo S70 offers a user-friendly interface that is intuitive and customizable. The system supports a wide range of smart devices, and when you Add Z Wave Device to Nevo S70, you are expanding its capabilities to include Z-Wave’s robust network of compatible devices. This integration allows you to create complex automation routines, improve energy efficiency, enhance security, and much more.
The Benefits of Adding Z-Wave Device to Nevo S70
There are numerous advantages to adding Z-Wave device to Nevo S70. Some of the key benefits include:
- Seamless Integration: Z-Wave devices are designed to work together effortlessly. By adding Z-Wave device to Nevo S70, you can control everything from one central hub.
- Energy Efficiency: Z-Wave devices, such as smart thermostats and lights, can help reduce energy consumption by adjusting settings based on your preferences and routines.
- Enhanced Security: Adding Z-Wave device to Nevo S70 allows you to integrate security features such as smart locks, cameras, and sensors, providing better control and monitoring of your home’s security.
- Convenience: Once you Add Z Wave Device to Nevo S70, you can control all of your devices remotely, either through the Nevo S70 interface or via a mobile app. This adds a layer of convenience for managing your home from anywhere.
- Customization: Nevo S70 allows you to personalize your home automation system. By adding Z-Wave device to Nevo S70, you can set up scenes and automations tailored to your lifestyle and preferences.
How to Add Z Wave Device to Nevo S70: Step-by-Step Guide
Now that you understand the benefits of adding Z-Wave device to Nevo S70, it’s time to dive into the process of integrating your devices. The following steps outline how to Add Z Wave Device to Nevo S70.
Step 1: Prepare Your Nevo S70 for Z-Wave Integration
Before you can Add Z Wave Device to Nevo S70, you need to ensure that your Nevo S70 system is ready for integration. This involves ensuring that your Nevo S70 has the necessary software updates and that it is connected to your home network.
- Update Firmware: Check if your Nevo S70 system is running the latest firmware. If not, update it through the system settings to ensure compatibility with Z-Wave devices.
- Connect to Network: Ensure that Nevo S70 is connected to your home’s Wi-Fi or wired network. This is necessary for the system to communicate with your Z-Wave devices and allow remote control via a mobile app.
Step 2: Add Z-Wave Device to the System
Once your Nevo S70 is prepared, you can begin adding Z-Wave devices to the system. The process typically involves pairing each device with the Nevo S70 system through the Z-Wave network.

- Put the Z-Wave Device into Pairing Mode: Follow the instructions provided by the manufacturer of your Z-Wave device to put it into pairing mode. This often involves pressing a button on the device for a few seconds or using a specific app.
- Access Nevo S70 Interface: On your Nevo S70, navigate to the Z-Wave control section. This may be found under the “Devices” or “Settings” menu, depending on your system configuration.
- Start the Pairing Process: In the Z-Wave control menu, select the option to add a new device. Nevo S70 will begin scanning for nearby Z-Wave devices. Once the system detects your device, it will display it on the screen.
- Confirm the Pairing: After the system detects the device, confirm the pairing by selecting it on the Nevo S70 interface. This will add the device to your system’s list of available devices.
Step 3: Configure Your Z-Wave Device
Once you have successfully added Z-Wave device to Nevo S70, you can configure its settings and create custom automations. The configuration process varies depending on the device, but in general, it involves:
- Assigning a Name: Give the device a unique name that will make it easy to identify within the Nevo S70 interface. For example, if you add a Z-Wave light bulb, you might name it “Living Room Light.”
- Adjusting Settings: Customize the settings of your device, such as brightness for lights, temperature for thermostats, or security alerts for cameras. The Nevo S70 interface will allow you to adjust these settings easily.
- Creating Automations: With Nevo S70, you can create automation rules that dictate how your Z-Wave device behaves under certain conditions. For example, you can set up a rule that turns off all lights when you leave the house, or adjust your thermostat based on the time of day.
Step 4: Test and Fine-Tune
After you have added Z-Wave device to Nevo S70 and configured its settings, it’s important to test the device to ensure it is functioning correctly. Check that the device responds to commands from the Nevo S70 interface, and verify that any automation rules you set up are working as intended.
If the device isn’t behaving as expected, you may need to fine-tune its settings or check the signal strength of the Z-Wave network. Z-Wave operates on a mesh network, so each device acts as a repeater, extending the range and reliability of the network. If necessary, you can move the device closer to the Nevo S70 or add additional Z-Wave devices to improve the signal.
Step 5: Repeat for Additional Devices
Once you have successfully added one Z-Wave device to Nevo S70, you can repeat the process for additional devices. Nevo S70 supports a wide range of Z-Wave devices, including lights, locks, cameras, and thermostats, so you can continue expanding your smart home ecosystem.
As you add more Z-Wave devices, you can group them together into scenes for easier control. For example, you could create a “Goodnight” scene that turns off all the lights, locks the doors, and adjusts the thermostat to your desired temperature. With Nevo S70, you can manage all of your Z-Wave devices from one convenient interface.
Troubleshooting Tips for Adding Z-Wave Device to Nevo S70
While the process of adding Z-Wave device to Nevo S70 is generally straightforward, you may encounter some challenges along the way. Here are some common issues and troubleshooting tips:

- Device Not Detected: If Nevo S70 is not detecting your Z-Wave device, ensure that the device is in pairing mode and within range of the system. You may need to move the device closer to the Nevo S70 or reset the device and try again.
- Device Not Responding: If the device is paired but not responding to commands, check the Z-Wave network signal strength. Adding additional Z-Wave devices as repeaters can help improve the network reliability.
- Device Configuration Issues: If you are having trouble configuring the device, ensure that you are following the manufacturer’s instructions carefully. Each Z-Wave device may have different configuration options.
- Firmware Updates: Make sure that your Nevo S70 system is running the latest firmware. Sometimes, software updates can resolve compatibility issues with newly added devices.
Conclusion
Incorporating Z-Wave devices into your Nevo S70 system opens up a world of possibilities for home automation. By following the steps outlined in this guide, you can easily Add Z Wave Device to Nevo S70 and enjoy the benefits of a smarter, more efficient home. Whether you’re controlling lighting, security, or temperature, the integration of Z-Wave devices with Nevo S70 provides a seamless and user-friendly experience. So, take the plunge and Add Z Wave Device to Nevo S70 to transform your home into a fully automated smart haven!